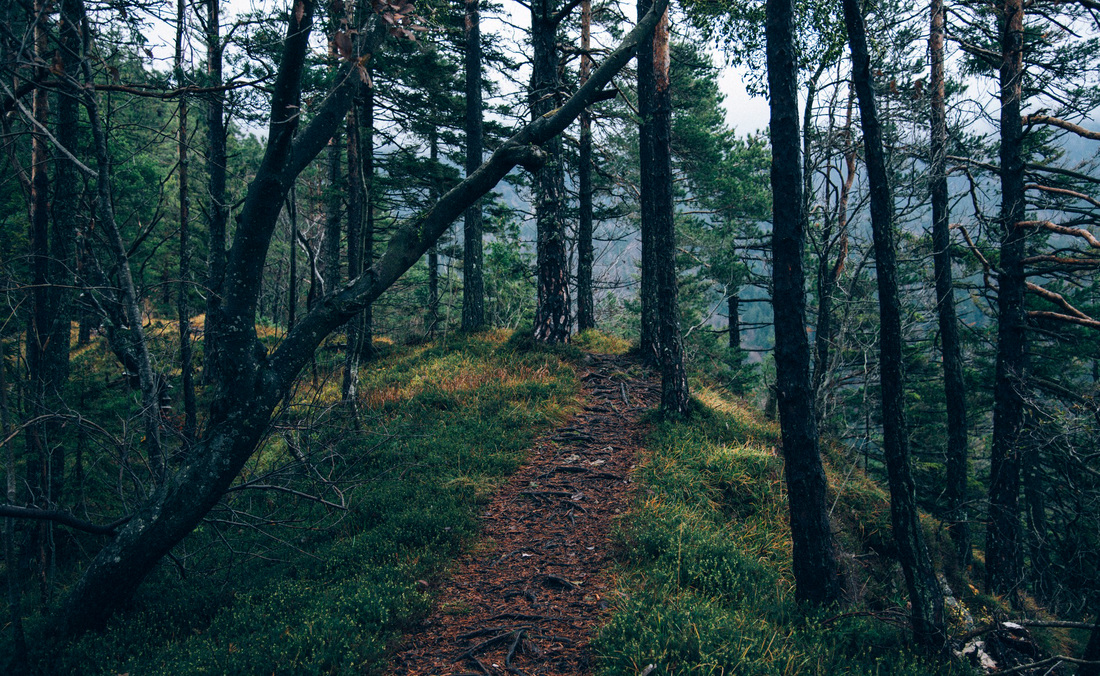
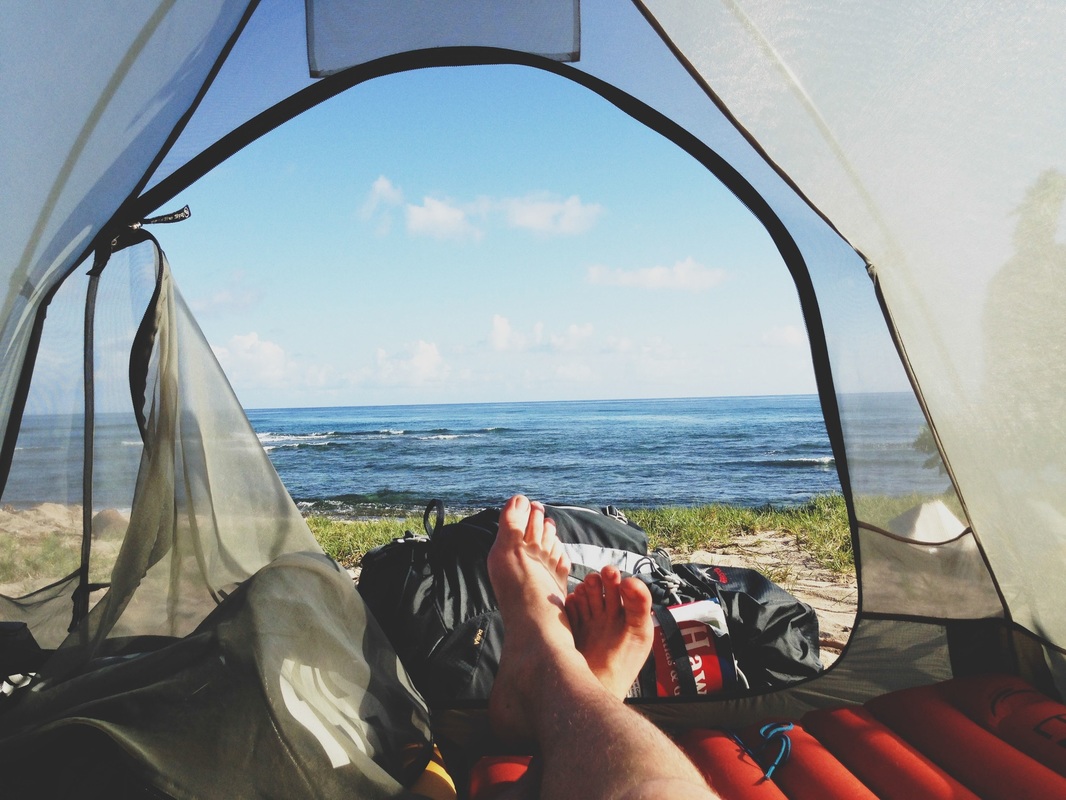
I'm James. This is my year of travel.

 The narrow space here may seem ideal to holding, but they pose a big ranged threat, so rush them and thin their numbers. Head up the stairs further into the keep to find some Templar Horrors in the courtyard. 
You can reach it with some tricky jumping by using the railing by the first chest. There are also Chest x2 down here: one that is easy to get by the stairs and one up on the higher shelves. Here look around for books including updates to the keep documents and The First Blight: Chapter Four. We are near the keep itself now: nearby you can enter the lower part of the keep where they keep provisions. Lay out the templars quickly so you can focus on him. 
You’ll only fight templars for a short while but the giant will soon jump in. Head past the arch and get ready for another fight with a group of Red Templars and a giant. Be sure to check inside them for the Suledin Keep Documents. This is a bit tricky actually, but once you get on the tree go slow and stead and get up to the broken wall for a Bottle of Thedas. Funny right? Well, this is actually where you need to use the nearby tree leaning against the wall to climb up to it. You’ll discover a small corner with some knocked-down trees and your search beeper will begin beeping. He isn’t much different than a normal giant when it comes to his attacks, so treat him as you would any other giant.Ĭontinue to the left and stick to the right hand side of this area. Try and take out the templar escort so you can focus on the giant, then take him down. This is a good time to use any special skills you may have saved up as well as area of effect magicks. Yikes… he has a good guard of Red Templar too. Up ahead is (as you can likely see), a giant… an Infected Giant. You can get some by the giant cage and another by going through the broken wall nearby and looking around the open area there. Search around for some rare foliage called Felandaris. Note that they only lost ONE giant… yeah. Once they are dead you can read a note nearby. Slay the guards you find and move away from the objective, up to some giant (literally) cages. He’ll give you a new quest called Call Me Imshael (Moby Dick reference!) and head off to protect Sahrnia. Help him kill the enemies out here and talk to him. Here you will find Michel battling the demons (don’t worry about his health). We aren’t done exploring this area after all! Also, don’t forget to climb the nearby ladders around the tower for the Ocularum and the Tower of Bone landmark! You will get the Capturing Suledin Keep and Rocky Rescue quests after you complete this one. Once you are done go ahead and claim the camp to complete this quest. 
May as well wipe them all out (Archers can benefit from the range on the ramps here). There are some Red Templar Horrors down below with some normal enemies. You could claim the camp now, but we’d advise continuing on and scouting the area. There is a small opening on your right-hand side through the rocks you can get through that leads to a small area with tons of elfroot and a ramp leading to the Tower of Bone camp. Head east and then south down the slope when you can. This is actually the last location we’ll be taking over (for this quest anyways). He is a bit out of the way, but after reading the journal you will unlock the Rumors of the Sulevin Blade operation at the War Table. 
Head northeast of Drakon’s Rise Camp and search for a journal near the body of a dead elf. Once you have killed them, take the camp and the objective will change to killing the enemy at the Tower of Bone. Pretty much more of the same, but they do have a Behemoth this go around, so be ready for him. Once you get to the cliffs overlooking the valley, look for a ton of elfroot and a journal on a body by the cliffs (loot it as well… he won’t need that ring). You’ll have to kill templars along the way, but you’ll also come across a lot of Dawnstone, so pick that up as you go. Follow the path out of camp to the southwest and follow it as it winds around, leading up and east. Next out objective will change to Drakon’s Rise, to the east. Kill the guards here and take over the camp when you are done. Easy enough to do: you will encounter a group of templar by the frozen falls to the west (look for Red Lyrium to smash here, chests, and the Crystal Cascade Landmark ), then head southeast and find the steps leading to the main camp. Our first target is to drive away the templars from Highgrove, which is just southwest of our starting camp.
0 Comments
Leave a Reply. |
AuthorWrite something about yourself. No need to be fancy, just an overview. ArchivesCategories |
 RSS Feed
